


Vintage wood furniture has a very special charm – it tells stories of bygone decades and gives any room a warm, individual touch. Refinishing such pieces is not only a sustainable alternative to buying new, but also a creative way to express personal style. In this step-by-step guide, we show you how to professionally restore old wood furniture and stylishly showcase it with retro decor ideas.
Introduction: Why Refinish Vintage Wood Furniture?
Sustainability and Individual Style
Refinishing old furniture conserves resources and reduces waste. Instead of buying mass-produced furniture from a store, you give a piece with history a second life. Each restored piece becomes unique – with signs of use that show its past and a surface you can design according to your ideas.
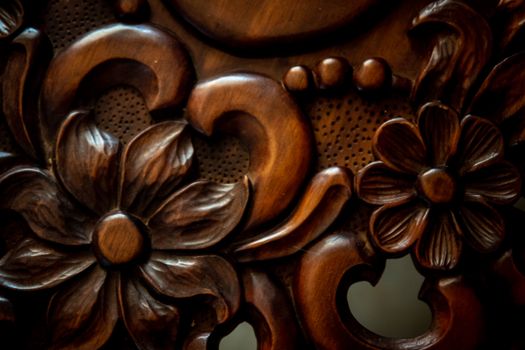
Value Increase Through Restoration

Well-preserved or professionally refinished vintage furniture can increase in value. Especially furniture made of solid wood or with special veneers is sought after. With some skill and the right techniques, you can turn a worn sideboard or chair into a highlight that delights collectors and enthusiasts.
Preparation: Materials and Tools
Basic Equipment for Wood Refinishing
Before you start, gather the following materials: sandpaper with different grits (80 to 220), a sanding block or sander, a putty knife for wood filler, a brush and cloth, stain, wood oil or varnish of your choice, paint stripper (if needed), and a mild soap solution. Soft cloths and a soft brush are suitable for cleaning.
Protective Gear and Work Environment
Always wear gloves, safety goggles, and a dust mask when working with chemicals and sanding. Work in a well-ventilated room or outdoors. Protect the floor with a tarp to avoid dust and paint splatters.
Step 1: Cleaning and Removing Old Finishes
Cleaning with Mild Soap Solutions
First, remove coarse dirt with a dry cloth. Then mix a little mild soap with lukewarm water and gently wipe the surface. Be careful not to soak the wood – only slightly dampen the cloth. For stubborn soiling, a soft brush can help.
Stripping Paint and Varnish Residues
If the furniture is thickly varnished or painted, you need to remove the old coating with a paint stripper. Apply the product thickly and let it sit for 15–30 minutes depending on the product. The varnish and paint will then form bubbles. Scrape off the residues with a putty knife. Repeat the process if necessary and then clean the surface with a damp cloth.
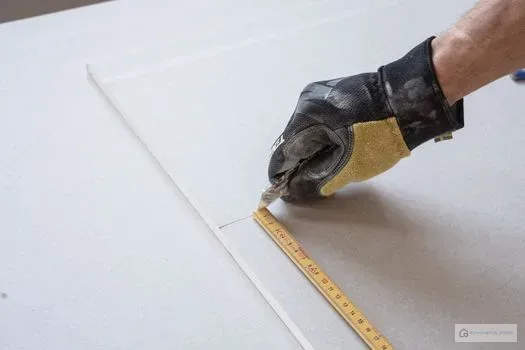
Step 2: Sanding and Repairing Damage
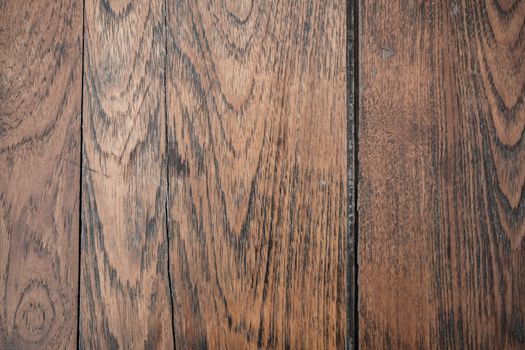
Sanding Techniques for Different Types of Wood

After cleaning, start sanding. Begin with coarse sandpaper (grit 80–100) and work your way up to finer grits (180–220). For soft woods like pine, sand more gently to avoid dents. For hardwoods like oak, you can apply more pressure. Always sand in the direction of the grain to prevent scratches. Use a sanding block for corners and edges.
Repairing Scratches and Dents
Deep scratches or dents can be repaired with wood filler. Choose a color that matches the wood tone as closely as possible. Apply the filler with a putty knife, let it dry, and sand the area smooth. For light dents, you can also place a damp cloth over them and iron with a household iron – the moisture will cause the wood fibers to swell and the dent will disappear.
Step 3: Staining, Oiling, or Varnishing – the Right Surface Treatment
Staining for Even Color Results
Stain penetrates the wood and emphasizes the grain. Apply it evenly with a brush or cloth and wipe off excess stain after a few minutes. Let the wood dry completely (usually 4–6 hours). For a darker tone, repeat the process. Staining is especially suitable if you want to keep the natural wood structure visible.
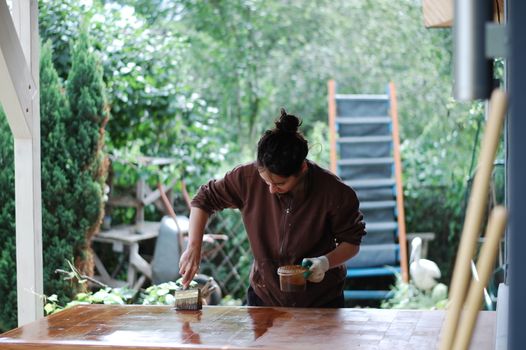
Oiling for a Natural Grain
Wood oil such as linseed oil or hard oil brings out the grain wonderfully and protects the wood from moisture. Apply a thin coat of oil to the furniture, let it soak in for 10–15 minutes, and wipe off excess oil. After 24 hours, you can apply a second coat. Oiled surfaces feel silky and are easy to maintain – regular re-oiling preserves the shine.
Varnishing for Durable Surfaces
If the furniture will be heavily used (e.g., dining table), varnish is the best choice. Use a special furniture varnish based on water or solvent. First prime the wood, lightly sand, and then apply two thin layers of varnish. Lightly sand between coats (grit 240) for a smooth finish. Varnished surfaces are more scratch-resistant and easier to clean.
Retro Decor Ideas: Showcasing Vintage Furniture Stylishly
Combination with Modern Accessories
A refinished vintage cabinet looks especially fresh when combined with modern elements. Place a simple metal floor lamp next to it or lay out a colorful geometric-patterned rug. Cushions with pop art motifs or a simple, clear coffee table create an exciting contrast between old and new.
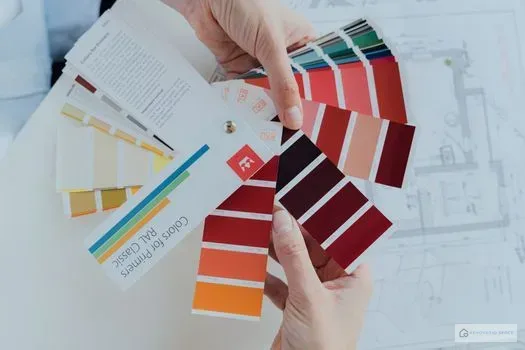
Color Concepts from the 1950s to 1970s
Typical retro colors include warm earth tones like mustard yellow, olive green, and terracotta, as well as bold orange and pink. Paint an accent wall in these colors or choose decorative items like vases, picture frames, or curtains in vintage style. Light birch wood furniture fits perfectly with 1950s pastels, while dark walnut furniture harmonizes ideally with rich 1970s colors.
Care Tips for Long-Lasting Beauty
To keep your restored furniture beautiful for a long time, dust it regularly and re-oil oiled surfaces every six months. Varnished furniture can be wiped with a damp cloth. Avoid direct sunlight to prevent fading. Coasters under hot pots or glasses are a must – this keeps scratches and rings away.
With this step-by-step guide and creative retro decor ideas, you can turn any vintage wood furniture into a unique treasure. Let yourself be inspired by the possibilities and create a home with character and history.