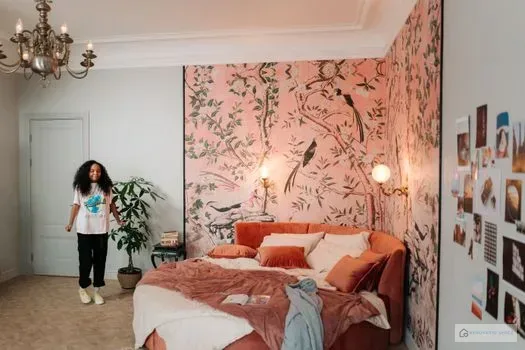


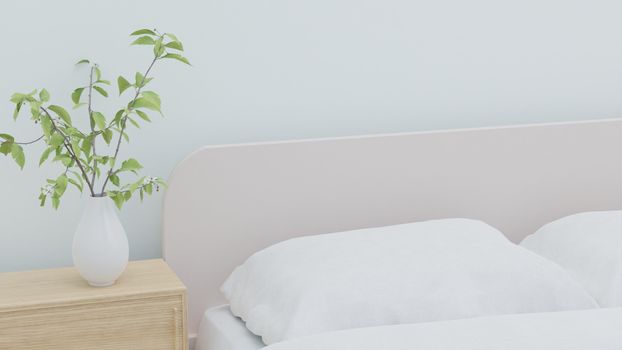
A beautiful headboard instantly gives the bedroom a cozy feel and creates a comfortable retreat. However, ready-made models are often expensive or don’t match your personal decor style. With a DIY solution, you save money, design the headboard exactly as you wish, and do something good for the environment. In this article, you’ll learn step by step how to create a DIY bedroom headboard on a budget – from material selection to construction and creative design ideas.
Benefits of a Homemade Headboard
Cost Savings
A headboard from a furniture store can quickly cost several hundred euros. With some craftsmanship and inexpensive materials like wooden pallets, leftovers, or upcycled items, you can reduce expenses to under 50 euros. Additionally, you have full control over the price since you can choose materials according to your budget.
Custom Design
No more compromises on colors, shapes, or patterns. Whether you prefer a Scandinavian design with light woods or a Boho look with macrame – the design is entirely up to you. This creates a unique piece that perfectly matches your decor.
Sustainability & Upcycling
Reusing old materials conserves resources and reduces waste. Wooden pallets from your last delivery, worn-out rugs, or fabric scraps can become a stylish headboard, adding a very personal charm to your bedroom.
Material Selection & Budget Options
Wooden Pallets & Reclaimed Wood
Wooden pallets are extremely cheap (often free) and robust. They can be cut, sanded, and painted or oiled as desired. Old floorboards or beams from a hardware store or curbside collection are also perfect. Simply cut them to the desired length and screw them to the wall behind the bed.
Foam & Fabric Scraps
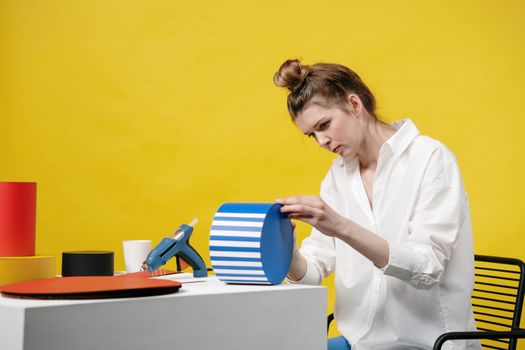
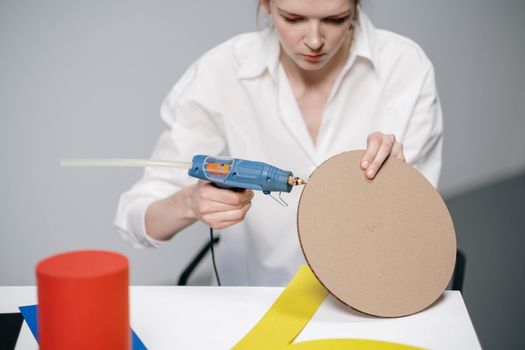
For a padded version, you need foam boards (about 5–10 cm thick) that you cut to size. Cover them with a decorative fabric, which you attach to the back with a staple gun. Build the frame from simple wooden strips or sturdy cardboard. Cost: around 30–60 euros.
Creative Alternatives (Cork, Carpet, Rope)
A special touch can be achieved with unusual materials: cork tiles as an acoustic headboard, an old oriental rug as a wall hanging, or a braided rope fixed spirally on a wooden board. These options are often very inexpensive – especially if you already have leftovers – and give the room a unique texture.
Step-by-Step Construction Guide
Required Tools & Material List
- Tools: Jigsaw, sandpaper, drill, dowels, screws, level, stapler, tape measure, pencil
- Materials (example padded headboard): 1 wooden board (18 mm, cut to size), foam (5–10 cm thick, at least 10×50 cm overlap), fabric (cotton, linen, etc., + 20 cm allowance per side), fleece for interlining (optional), staples, wall mounting hardware (dowels and screws) if needed
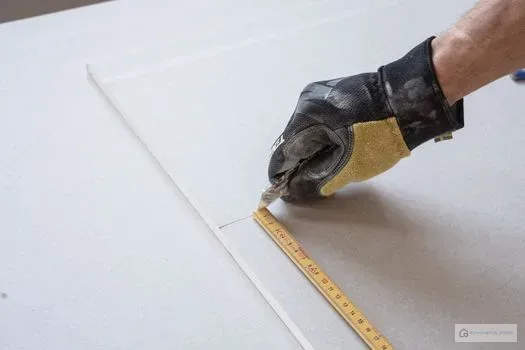
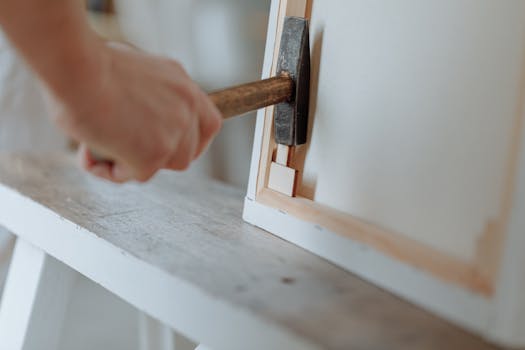
Take Measurements & Cut
Measure the width of your bed, plus 5–10 cm overhang on each side – so the headboard protrudes slightly. Choose the height as desired (60–120 cm). Transfer the measurements to the wooden board and foam board. Draw rectangles or curved shapes (e.g., arches or waves) on the board and cut along the line with a jigsaw. Sand all edges well to avoid splinters and unevenness.
Mounting & Wall Attachment
Drill two to four holes in the wooden board (depending on size and weight). Mark the positions on the wall evenly spaced across the width and level them (use a level). Drill dowel holes, insert appropriate dowels (heavy-duty dowels for light cavities), and screw the board firmly. Alternatively, you can place the headboard behind the bed – then no wall mounting is needed; instead, fix it to the bed frame with brackets or screws.
Padded Fabric Cover
Place the cut foam on the wooden board. If you want more softness, you can insert a layer of fleece in between. Spread the fabric right side down, place the board in the middle, and fold the excess evenly around the back. Staple the fabric from the center of the long sides outward – top/bottom first, then the sides. Ensure the fabric lies smooth without wrinkles. Trim excess fabric, and if desired, cover the edges with ribbons or strips.
Design Ideas for Different Styles
Scandinavian Minimalist
Use light wood (pine, birch) or paint a board in white, light gray, or pastel. A simple, rectangular headboard without padding perfectly suits the Nordic style. Stick to straight lines and clean edges. Combine it with a light bedspread and minimalist decor.
Industrial with Metal Accents
Build a frame headboard from black or rusty metal pipes (e.g., water pipes from a hardware store) and combine it with a dark wooden board. Screw the pipes vertically or horizontally onto the wooden strip – this creates an urban, trendy look. Mesh patterns made of wire or perforated sheet metal are also possible.
Boho with Macrame & Fringe
This style calls for creativity and handcraft: knot a macrame piece on a sturdy branch or wooden pole you mount horizontally above the bed. Or cover a flat wooden board with fringe borders and colorful fabric strips in a patchwork style. Boho charm thrives on naturalness and playful details.
Cost Estimate & Comparison with Ready-Made Products
DIY vs. Purchased: Cost Overview
| Category | DIY Cost (approx.) | Ready-Made (approx.) |
|---|---|---|
| Wooden pallet headboard | 0–20 € (pallet + paint) | 100–300 € |
| Padded headboard (simple) | 30–60 € (wood, foam, fabric) | 150–500 € |
| Boho macrame headboard | 15–40 € (yarn, branch) | 80–200 € |
| Upcycling from carpet/cork | 0–30 € (leftover material) | not comparable |
Thus, savings range from 50 to over 400 euros, depending on the variant. Additionally, with a self-built headboard, you gain pride and individuality.
Where to Save & What to Watch For
You can find particularly inexpensive materials at second-hand stores, through classified ads, or at curbside collection. Foam is often expensive – remnants or packaging material offer an alternative here. Ensure the fabric is antistatic and easily removable (zipper or Velcro). If you have little experience with upholstery, you might opt for a simpler mount, like a painted wooden board without foam and fabric.
Care & Durability of the DIY Headboard
Cleaning Tips
An unpainted wooden headboard can be easily wiped with a damp cloth or treated with a special wood care product. Padded varieties should be vacuumed regularly (upholstery nozzle). For stains: immediately dab with a damp cloth and mild cleaner, do not rub. Removable covers can be machine washed (according to material instructions).
Adjustments & Future Upgrades
A big advantage of the DIY approach: you can redesign the headboard at any time. New paint, a different fabric cover, or additional elements like LED strips behind the headboard – everything is possible. Subsequent extension or raising is also easily achievable. With sturdy construction and quality materials, your self-built headboard will last for many years.
With this guide and the many ideas, you can build your dream headboard yourself – affordable, sustainable, and with a personal touch. Good luck designing your new bedroom highlight!