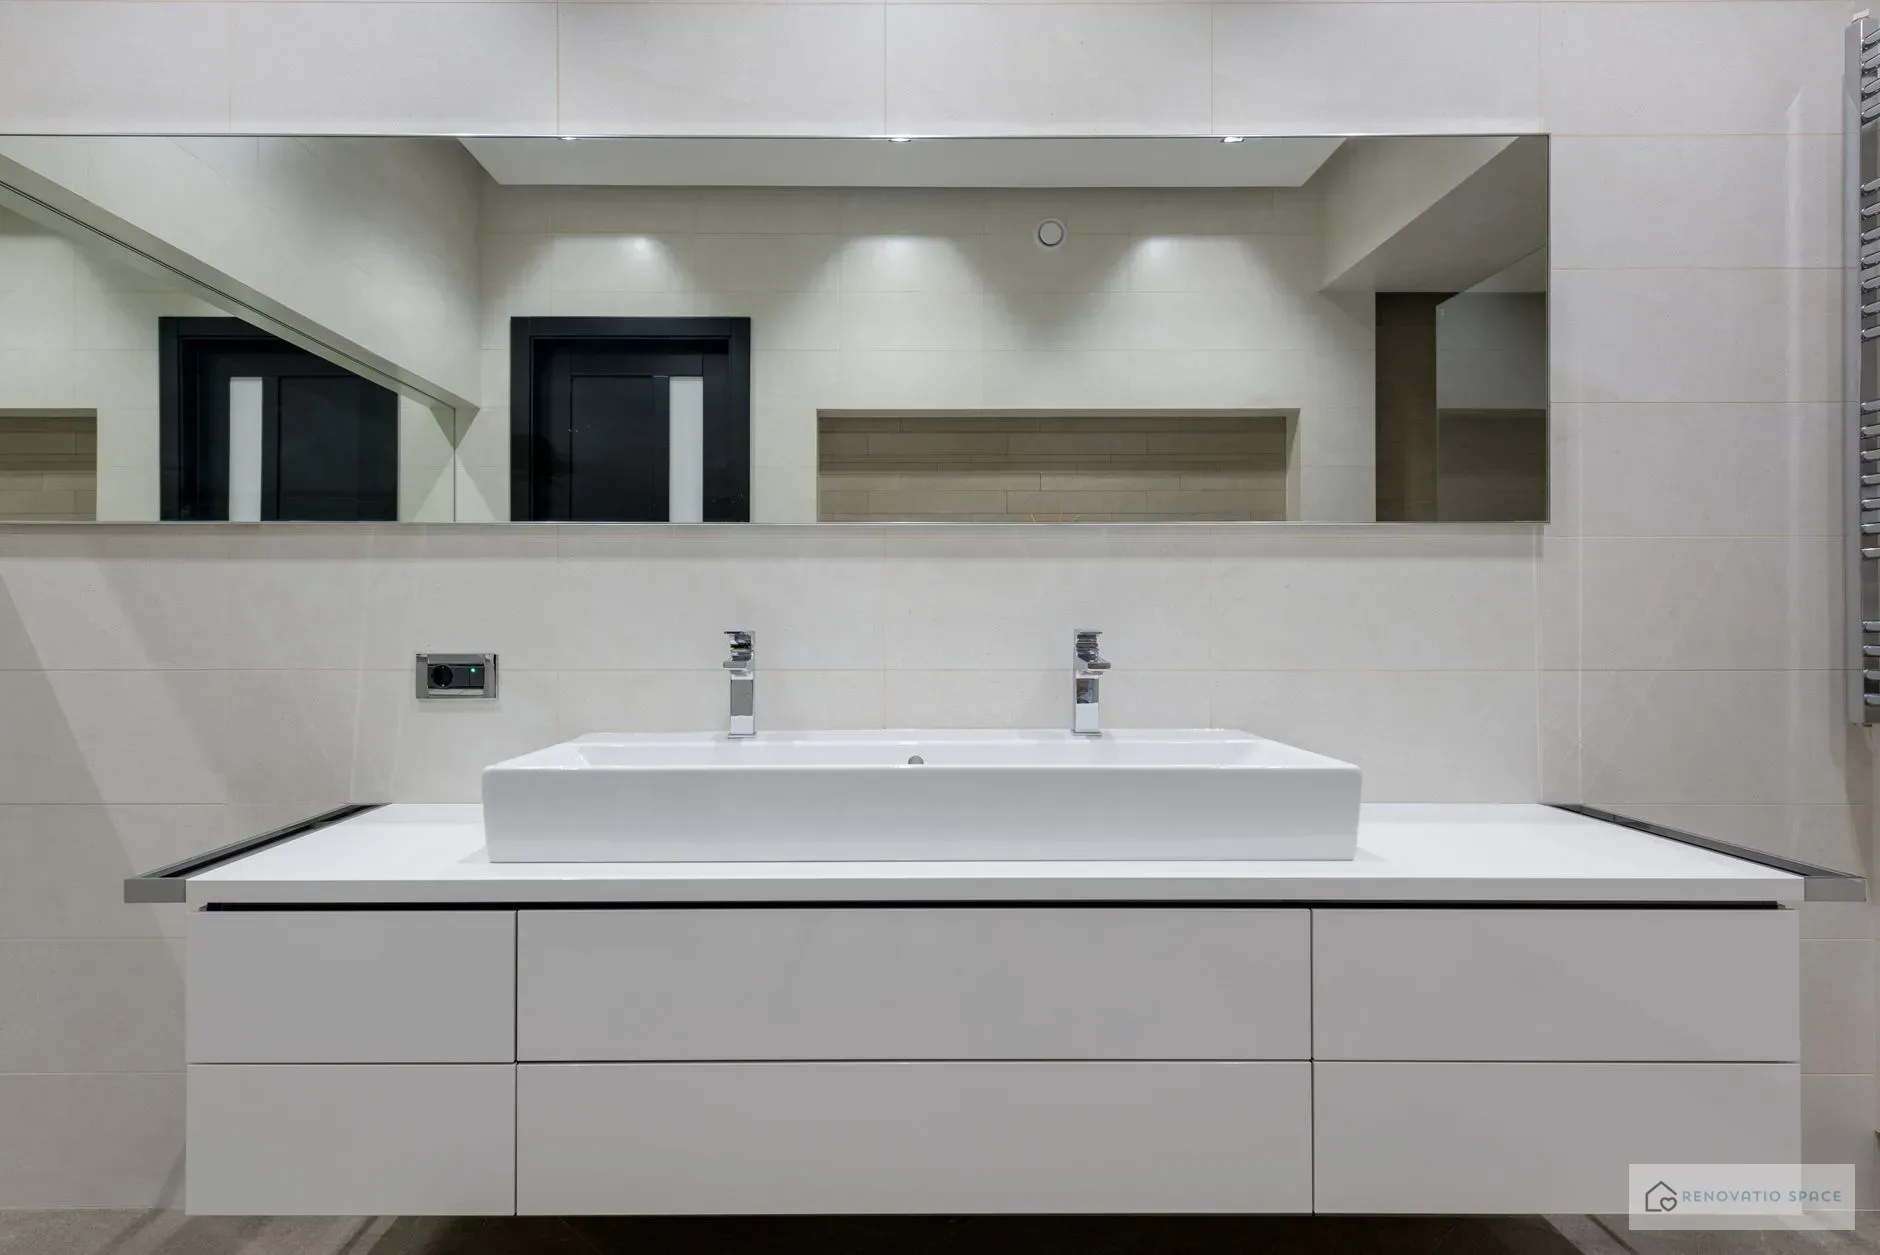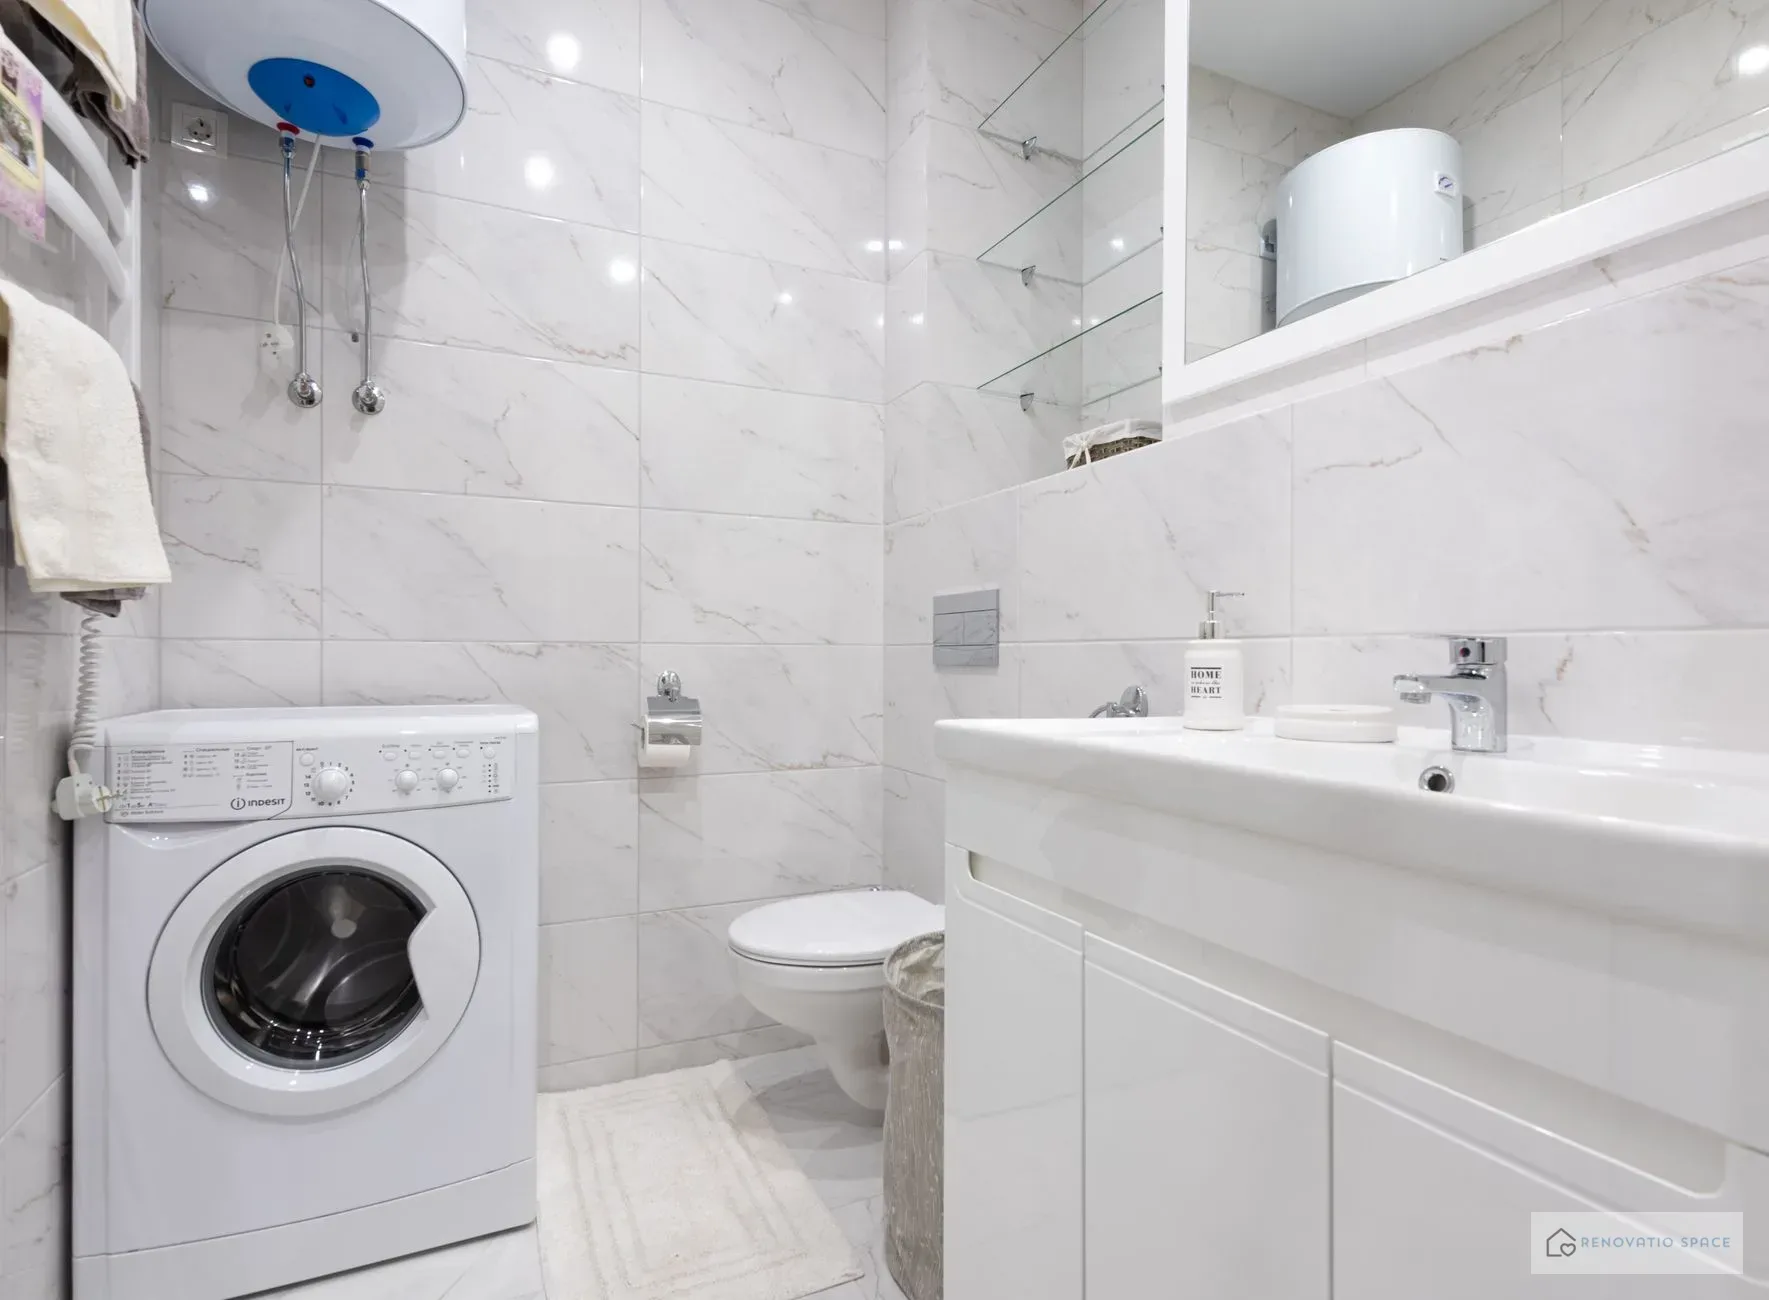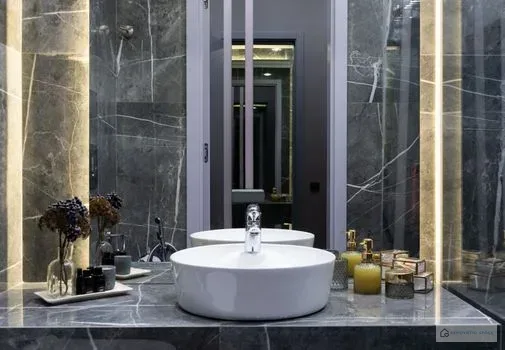


Waterproofing Your Bathroom: Essential Steps
Proper waterproofing is the key to any bathroom renovation. Without it, moisture damage, mold, and costly repairs are inevitable. This guide walks you through the essential steps.
1. Surface Preparation
Ensure the surface is clean, dry, and free of dust or grease. Remove old tiles and plaster remnants. Fill in uneven areas with filler compound. The surface must be load-bearing and absorbent.
2. Apply Primer
Use a deep primer to regulate absorbency and improve adhesion of the waterproofing membrane. Allow the primer to dry per manufacturer instructions.
3. Choose Waterproofing Material
Common options include: liquid sealants (e.g. PCI or Ardex), bitumen sheets, or modern membranes (e.g. Kerdi). Choose based on exposure and surface type. For showers and floors, flexible liquid sealants are ideal.
4. Apply Waterproofing
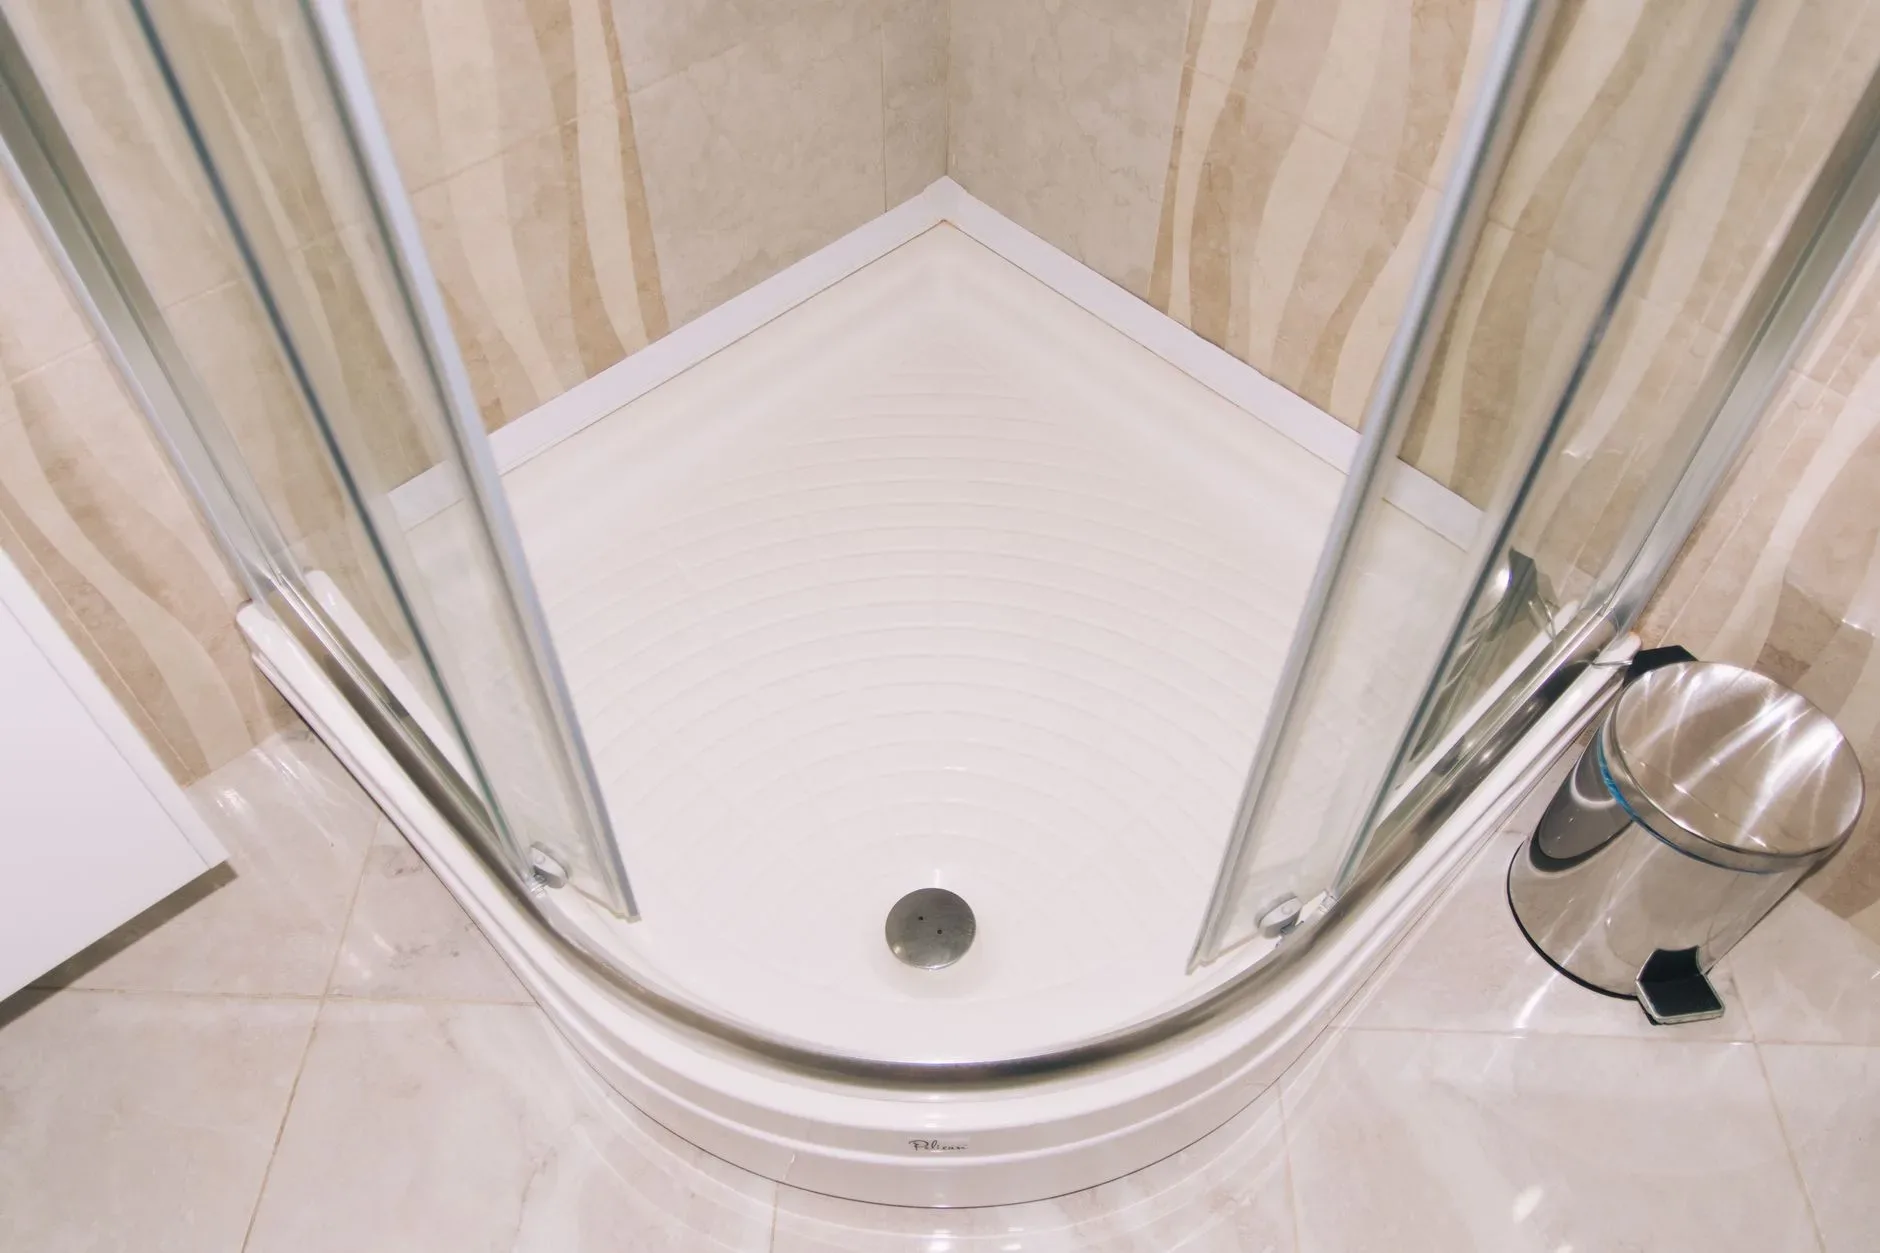
Apply the sealant in two coats using a roller or brush. Pay attention to corners and transitions – touch up with a brush. The layer thickness should be at least 2 mm. Sheets must be overlapped (approx. 10 cm overlap).
5. Sealing Tapes and Cuffs
Use special sealing tapes for wall-to-floor transitions and cuffs for pipe penetrations. Embed these into the fresh sealant and smooth out. This prevents leaks at critical points.
6. Observe Drying Time
The waterproofing must dry completely – this takes 12 to 24 hours depending on the product and temperature. Avoid drafts and high humidity during drying.
7. Inspect the Waterproofing
After drying, perform a visual inspection: any cracks, bubbles, or voids? Optional: a water test with a garden hose (carefully!) – water should bead and not penetrate.
8. Tile or Apply Further Coatings
Only after a successful inspection can you tile or apply another layer (e.g., tile adhesive). Ensure the waterproofing is not damaged.
With these steps, you create a durable, watertight foundation for your dream bathroom. If in doubt or faced with complex conditions (e.g., sloped ceilings), consult a professional.

Related pages
- https://renovatio.space/waterproofing-your-bathroom-essential-steps/
- https://renovatio.space/uk/gidroizolyatsiya-vannoyi-osnovni-kroki/
- https://renovatio.space/ru/gidroizolyatsiya-vannoy-osnovnye-shagi/