


You bought a new vanity and now it’s sitting in the hallway, mocking you. Installing a bathroom vanity yourself is absolutely doable, but skipping the prep or rushing connections leads to leaks, wobbles, and extra costs. This guide walks you through every stage, from removing the old vanity to sealing the new one, so you get it right the first time.
What You Need Before Starting
Beyond the vanity itself, gather these tools (not bolded in final) to avoid mid-project store runs:
- Adjustable wrench, basin wrench, and channel locks for plumbing connections
- Drill with masonry or wood bits, depending on your wall type
- Level (preferably a 4-foot level)
- Stud finder and pencil
- Teflon tape, plumber’s putty, silicone caulk
- Bucket and towels for unexpected water spills
If you’re wondering how long does diy bathroom vanity installation take, plan for 4-6 hours for a basic swap, plus extra if you need to patch drywall or reroute pipes.
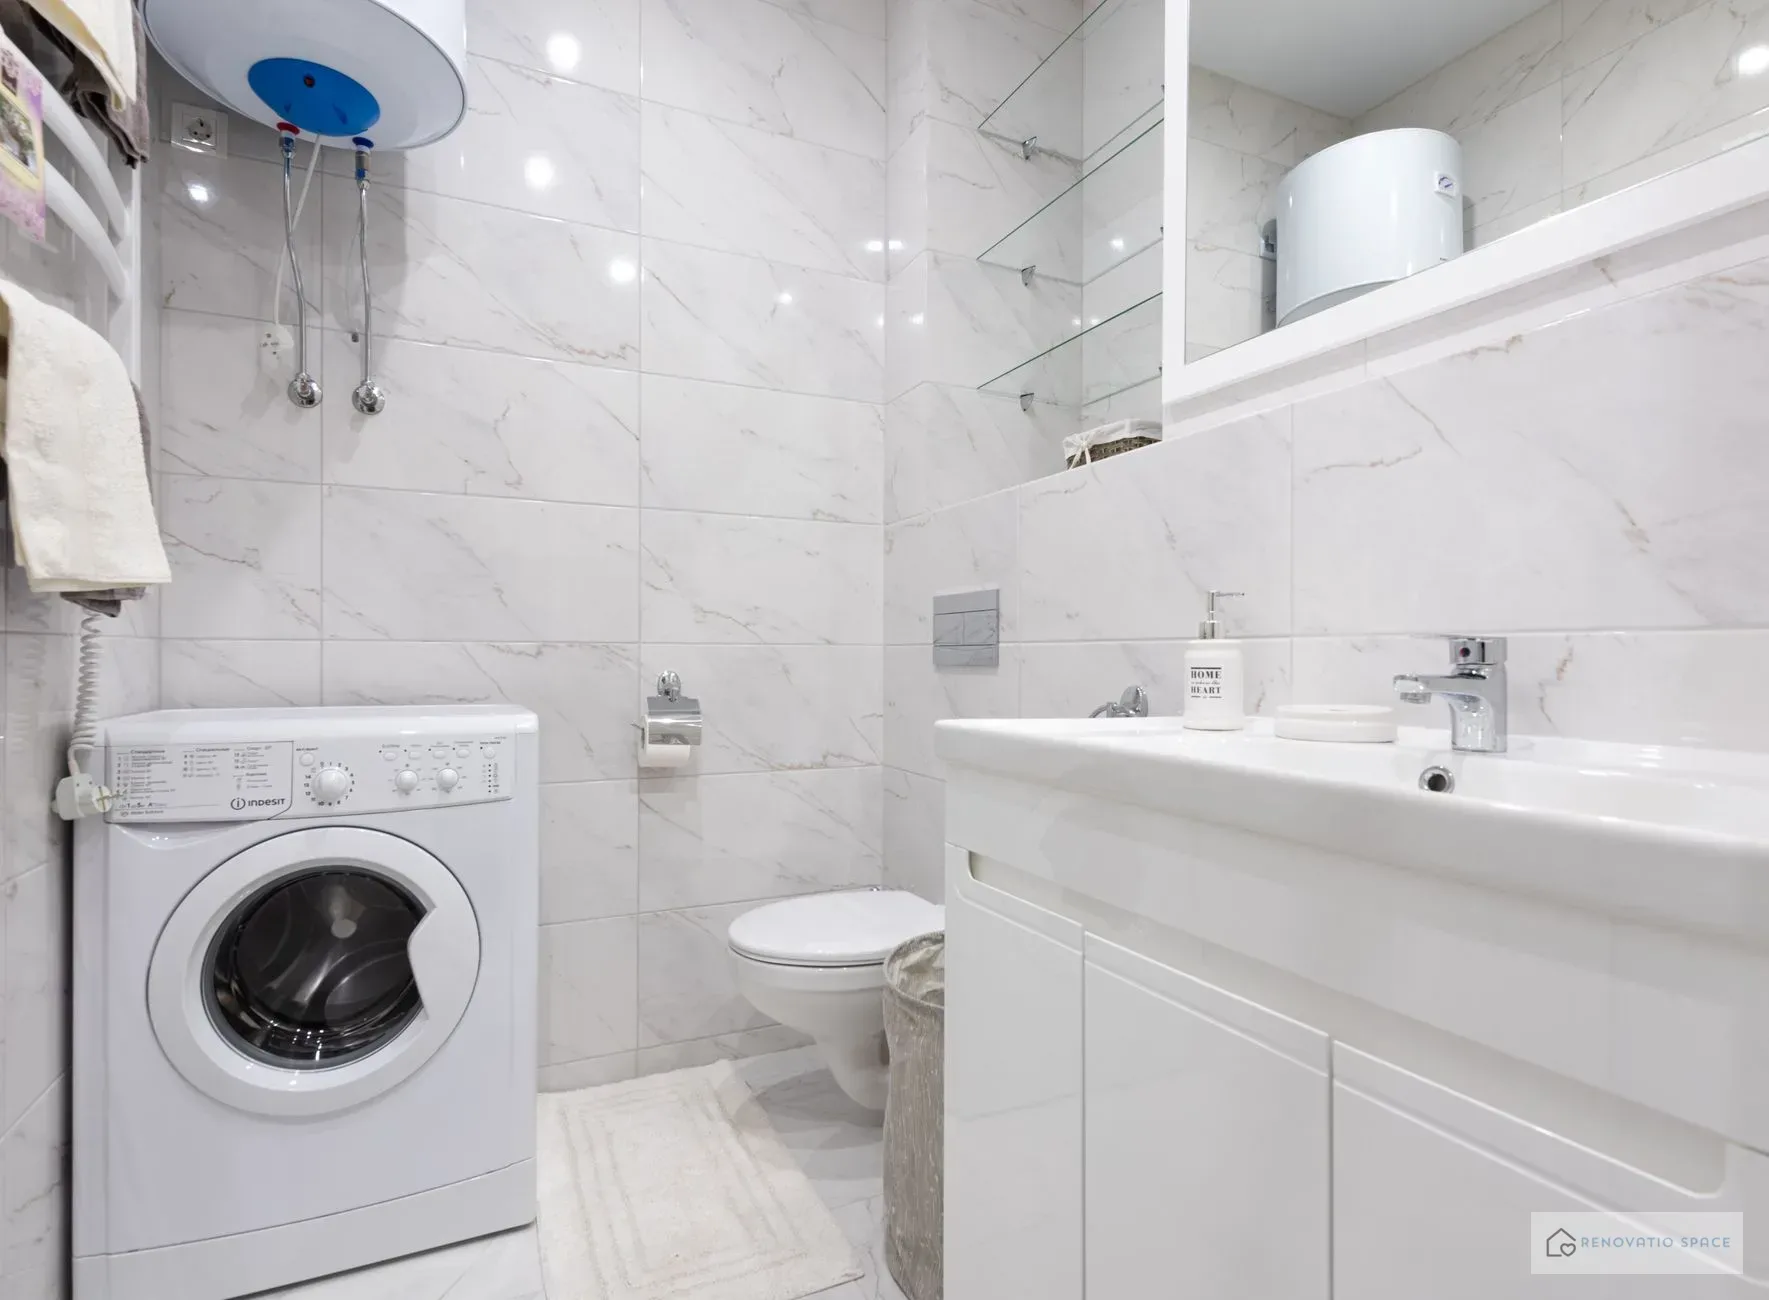
Removing the Old Bathroom Vanity Before Installation
Shut off the water supply valves under the sink, then disconnect the supply lines and drain trap. Use a bucket to catch residual water. Unscrew the old vanity from the wall (often behind the back panel or inside drawers) and carefully pull it out. If the floor underneath is damaged, now is the time to prepare bathroom floor for vanity installation — patch holes, level uneven spots, and clean thoroughly.
Preparing the Plumbing and Floor
Before setting the new vanity, check that your existing water supply and drain lines align with the new unit’s cutouts. If they don’t, you may need offset drain pipes or flexible supply lines. Connecting bathroom vanity drain and supply lines is easier if you leave some slack. For the floor, remove old caulk and adhesive, then ensure the subfloor is dry and level. If necessary, use a self-leveling compound or add a layer of plywood.
How to Level a Bathroom Vanity
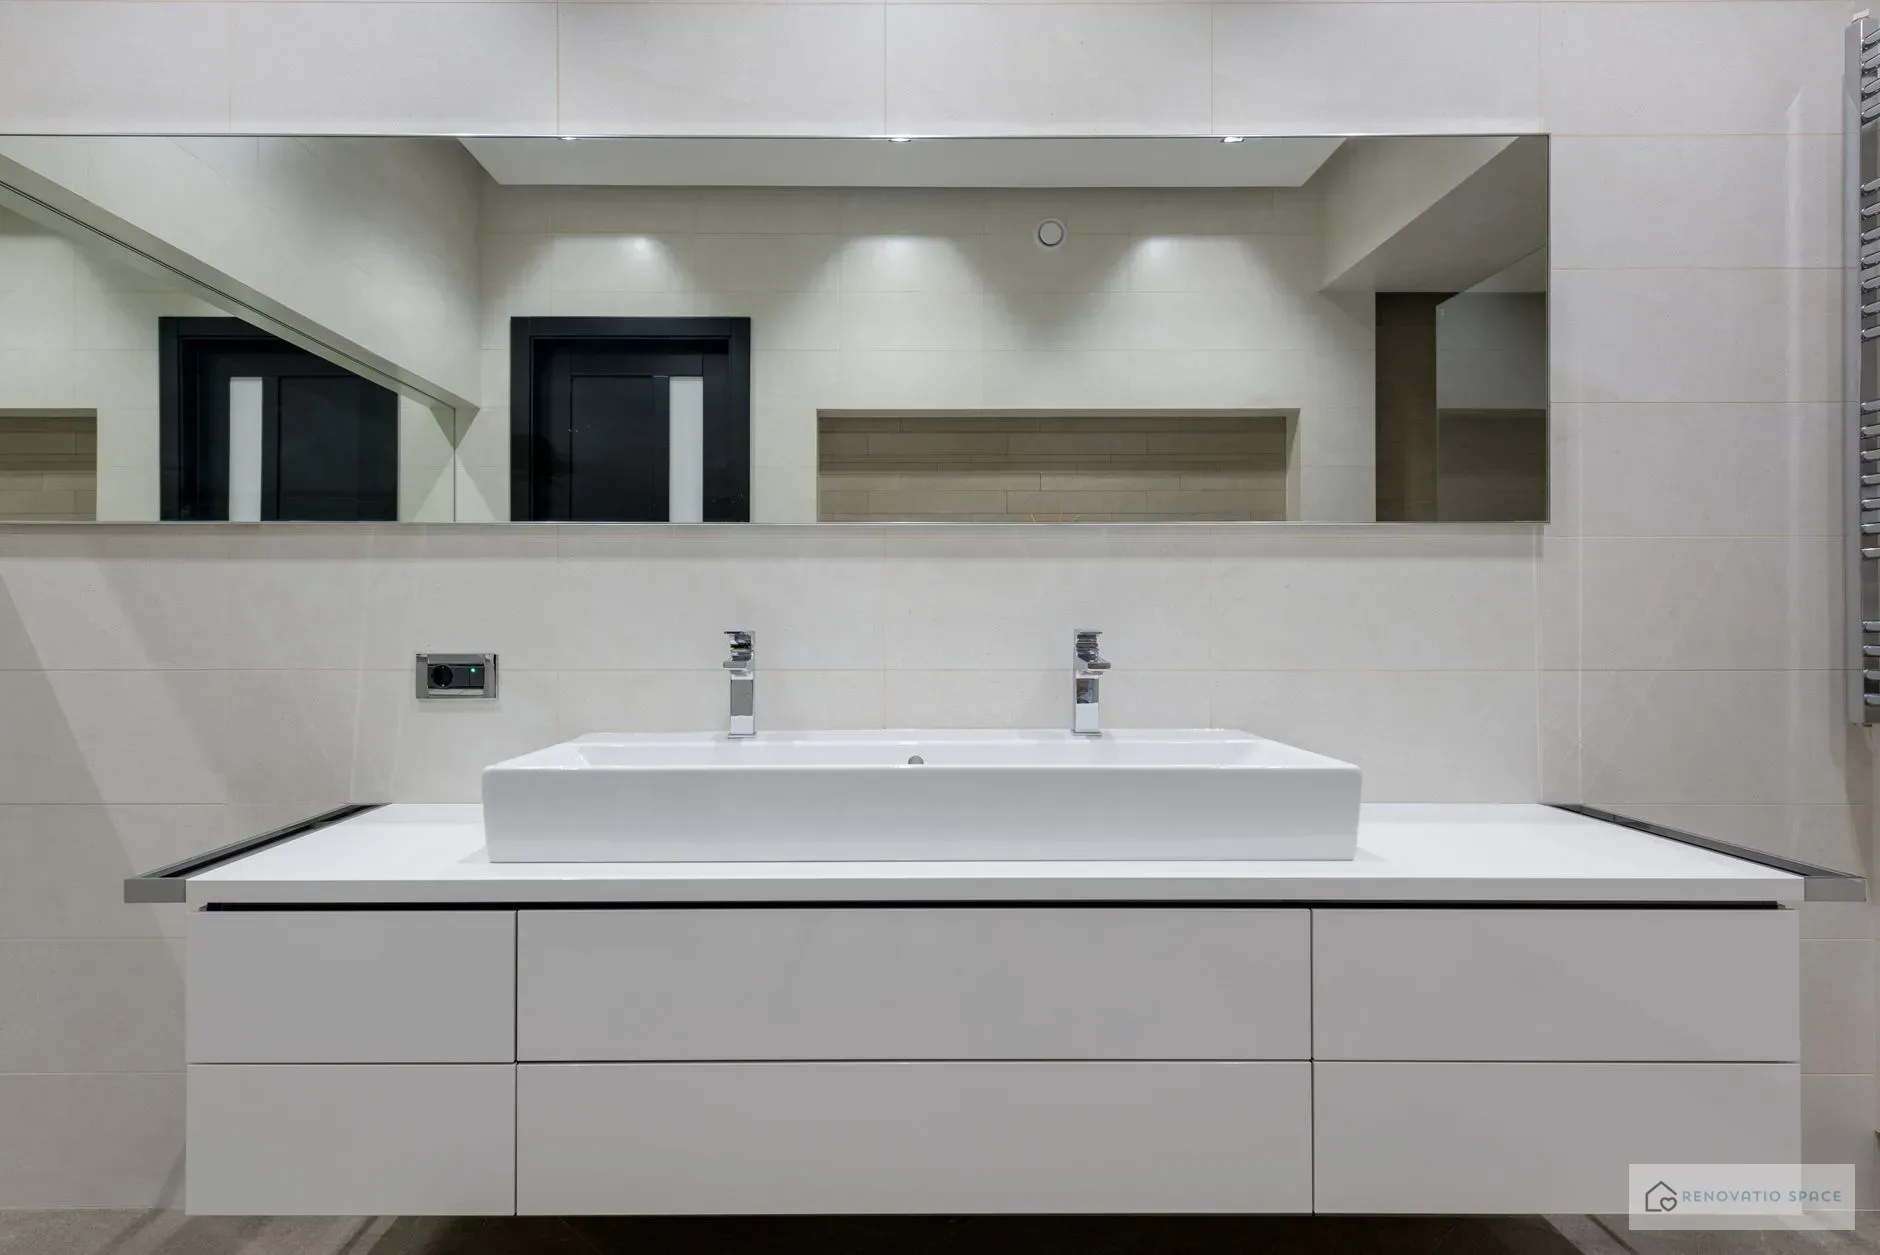
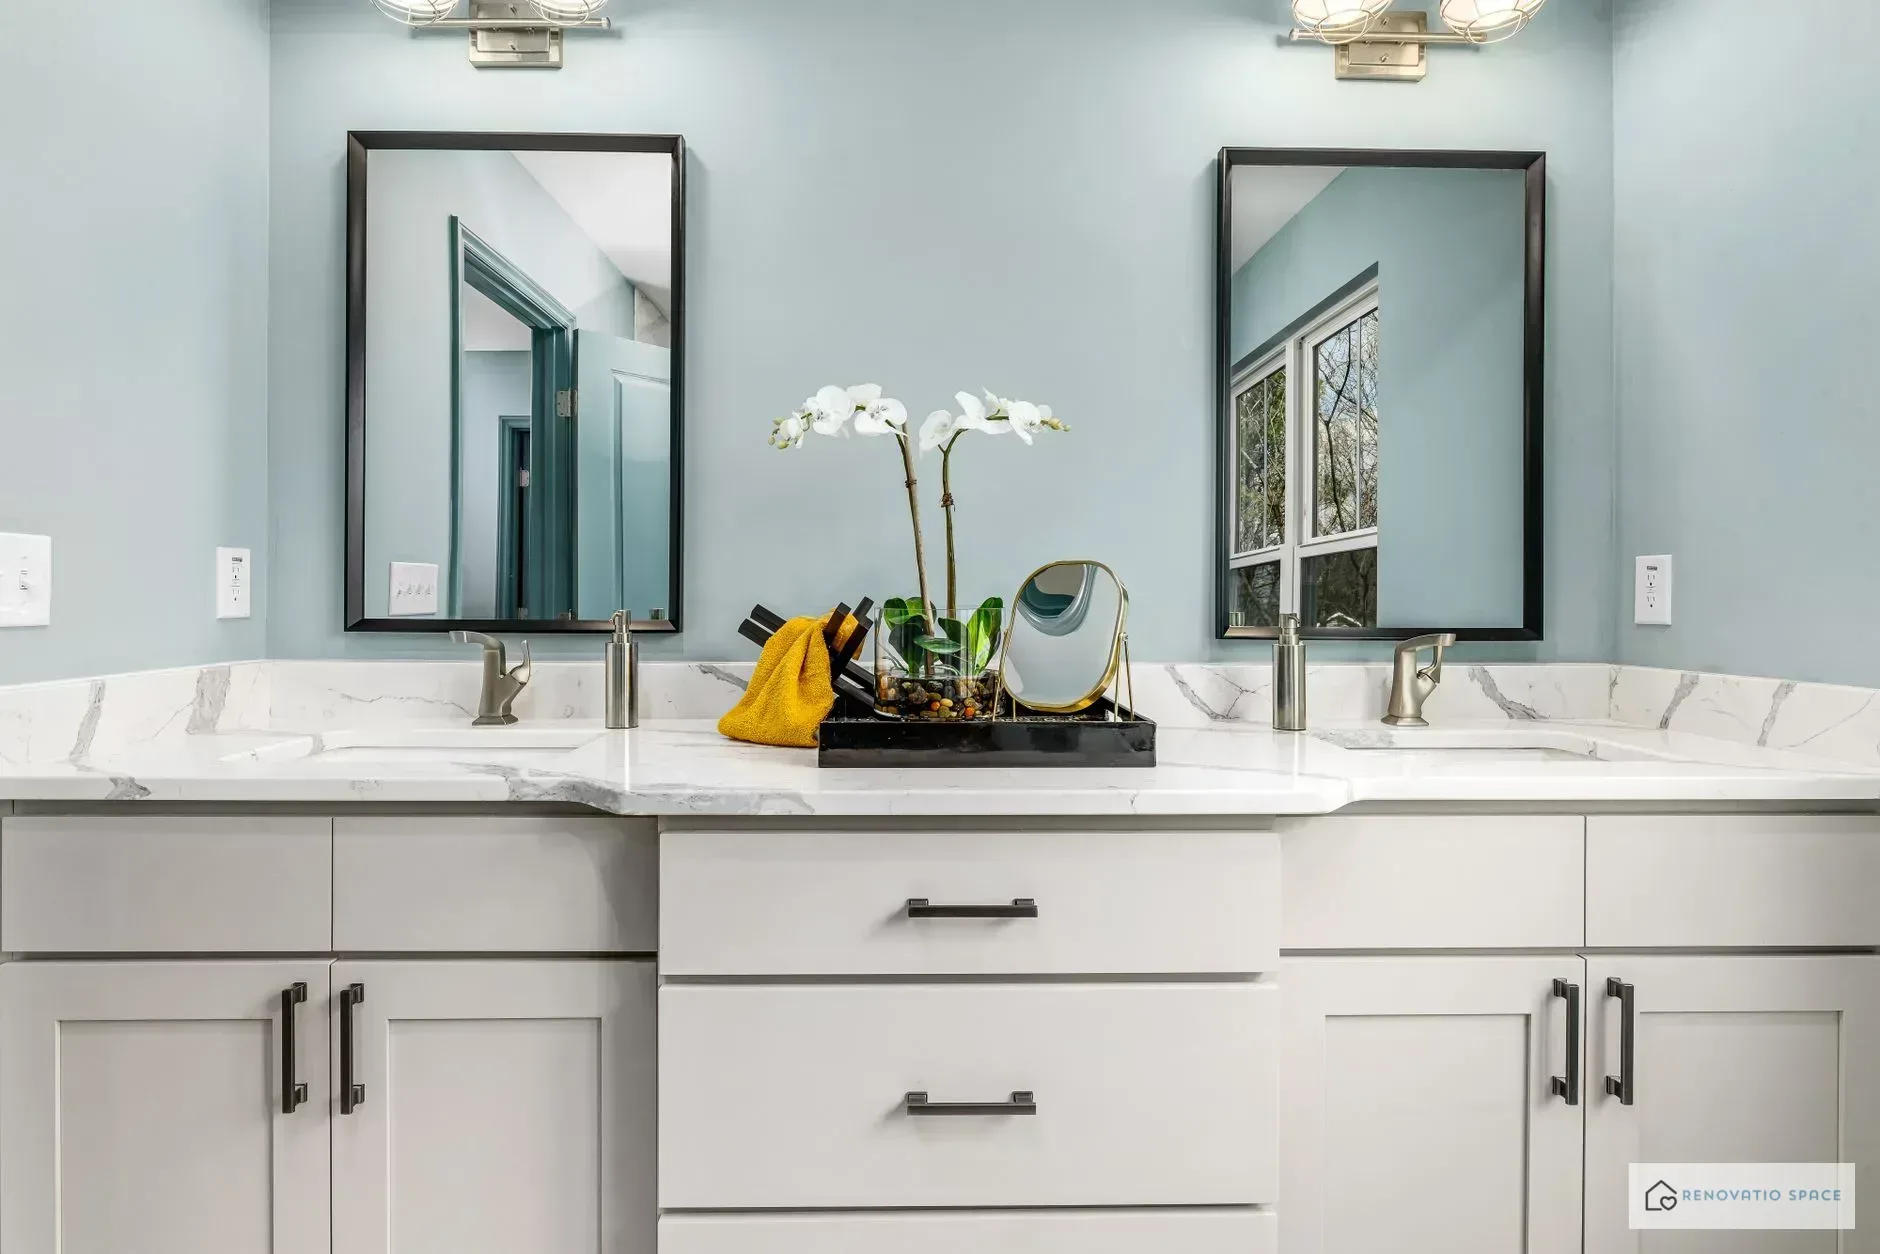
Place the vanity in its final position and check it with a level — both front-to-back and side-to-side. Shim under the base as needed using plastic or wood shims. Best practices for securing bathroom vanity to wall include screwing into studs, not just drywall. Use a stud finder to mark stud locations, drill pilot holes, then drive screws (or lag bolts) through the back rail or mounting cleat. Re-check level after tightening.
Connecting the Drain and Supply Lines
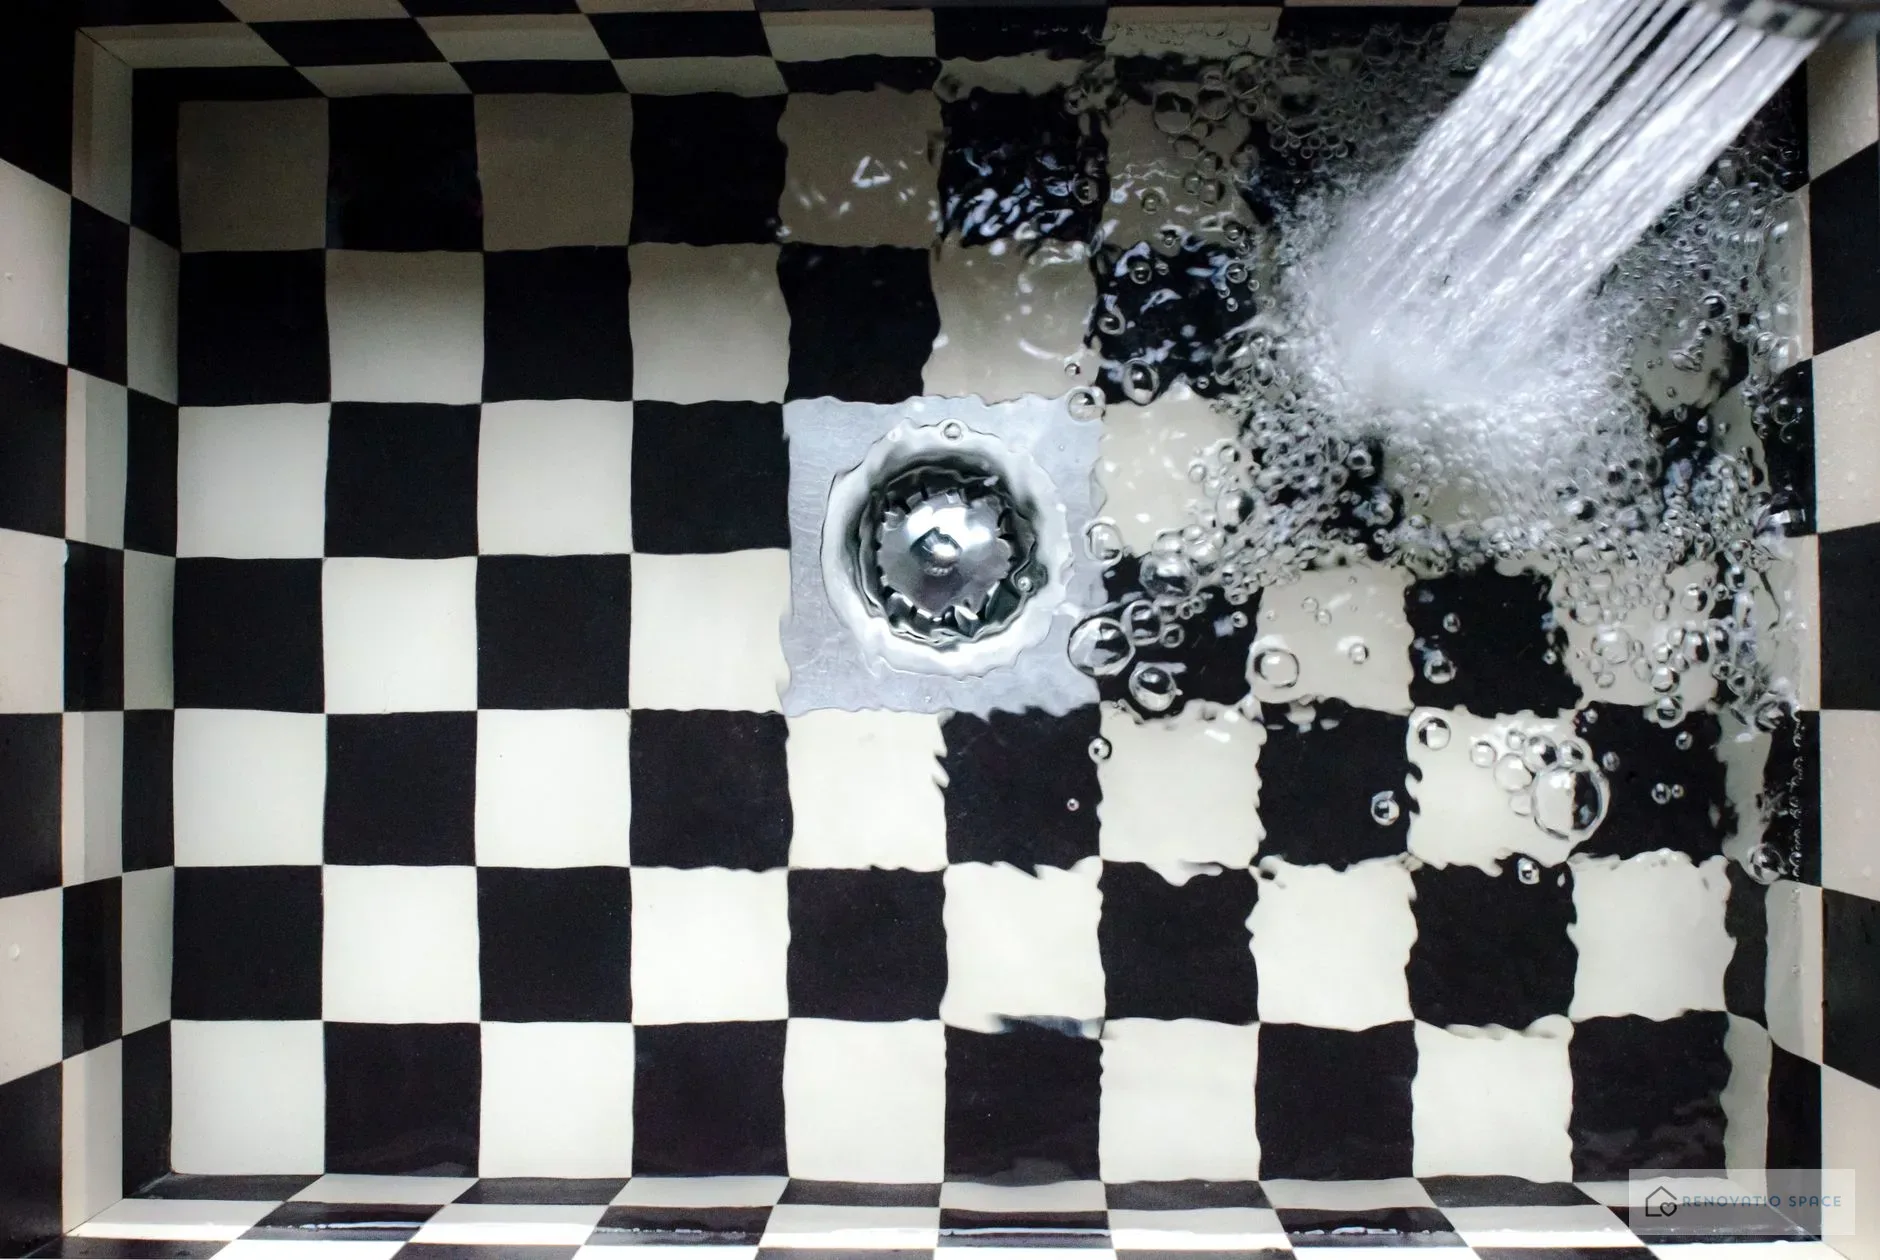
Attach the P-trap and drain tailpiece to the vanity’s sink basin first. Wrap Teflon tape clockwise on threaded connections. Connect the supply lines (hot on left, cold on right) to the shutoff valves. Turn the water back on and check for leaks. A bathroom vanity plumbing connections guide helps with common hiccups — like mismatched thread sizes or tight spaces.
Securing the Vanity Top and Backsplash
If your vanity came with a pre-mounted top, skip this step. Otherwise, apply a bead of silicone caulk to the top edge of the cabinet, then lower the countertop into place. Install the backsplash using caulk or a thin layer of construction adhesive. Wipe away excess caulk immediately.
Common Mistakes When Installing a Bathroom Vanity
Even experienced DIYers sometimes overlook these:
- Forgetting to check for level before securing — leads to a crooked vanity and water pooling on the counter
- Not using Teflon tape — invites drips at threaded joints
- Cutting supply lines too short — makes future maintenance a nightmare
- Skipping shims on an uneven floor — causes the vanity to rock
If you hit a snag, troubleshooting bathroom vanity installation problems often involves re-checking level, tightening connections, or adjusting shims.
What to Do After Installing Bathroom Vanity: Finishing Touches
Caulk the seam between the vanity top and the wall, and also the base of the vanity where it meets the floor (leave a small gap at the bottom if the floor is uneven — use a shoe molding cut to fit). Install the faucet and pop-up drain now, following the manufacturer’s instructions. Finally, wipe down surfaces and test for leaks again after 24 hours.
This diy bathroom vanity installation tips approach saves you the cost of a contractor — typically $150–$400 — and gives you the satisfaction of a job well done. For more bathroom renovation ideas, check out our guide to vintage bathroom remodel ideas or explore bathroom vanity options on our site.